Tianle Chen
Most people have limits on the computational capacity they have access to. Here I’ll describe steps to set up a SQL database on the cloud where, instead of paying for a brand new computer, one can pay only for what they use.
In the following example, I will be using a small Kaggle dataset to outline the steps which one would take to populate a SQL database and do analysis in the cloud.
You’ll need to be comfortable with Jupyter and Pandas for this tutorial. After this tutorial, you can apply all the SQL skills you have on hand.
You can find this notebook which has all the code used in this tutorial.
Download a Kaggle dataset.
Grab the following files from Taxi Trip Fare Prediction on Kaggle (you’ll need an account for this):

Create and enable BigQuery on Google Cloud.
Make sure you have BigQuery enabled on your Google Cloud project.
You’ll need to set up a Google Cloud account (see Getting Started) and create a project.
You should see the screen below when you visit https://console.cloud.google.com/bigquery?project=<your-project-id>:
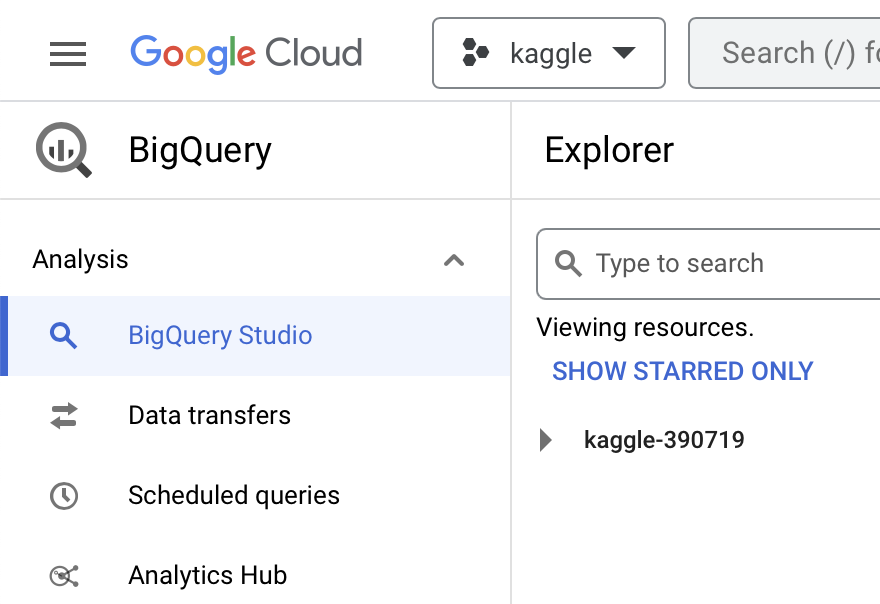
Otherwise, you should see a splash screen to enable BigQuery. Follow the instructions to do so.
Since we’ll need to create tables for querying, we’ll need to create a dataset (this is analogous to databases or schemas in SQL). To do this, go to the BigQuery Studio page and select “Create dataset” when clicking on the dots to the right of your project name.
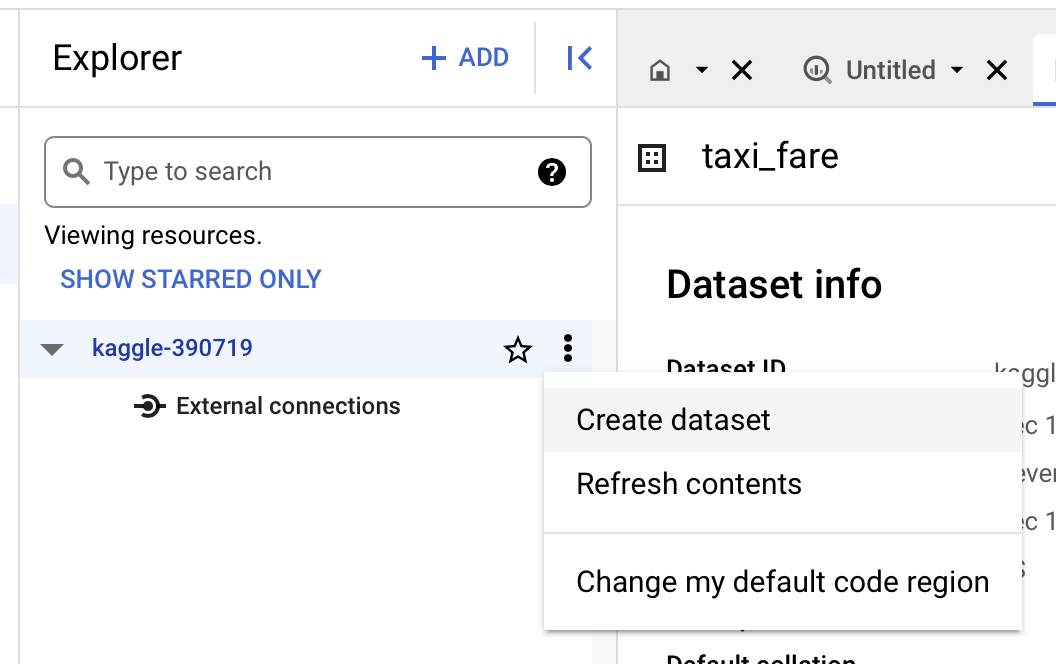
Let’s use taxi_fare for “Dataset Id” and you should now see the following screen in your Explorer tab (see that taxi_fare is now nested below your project id):
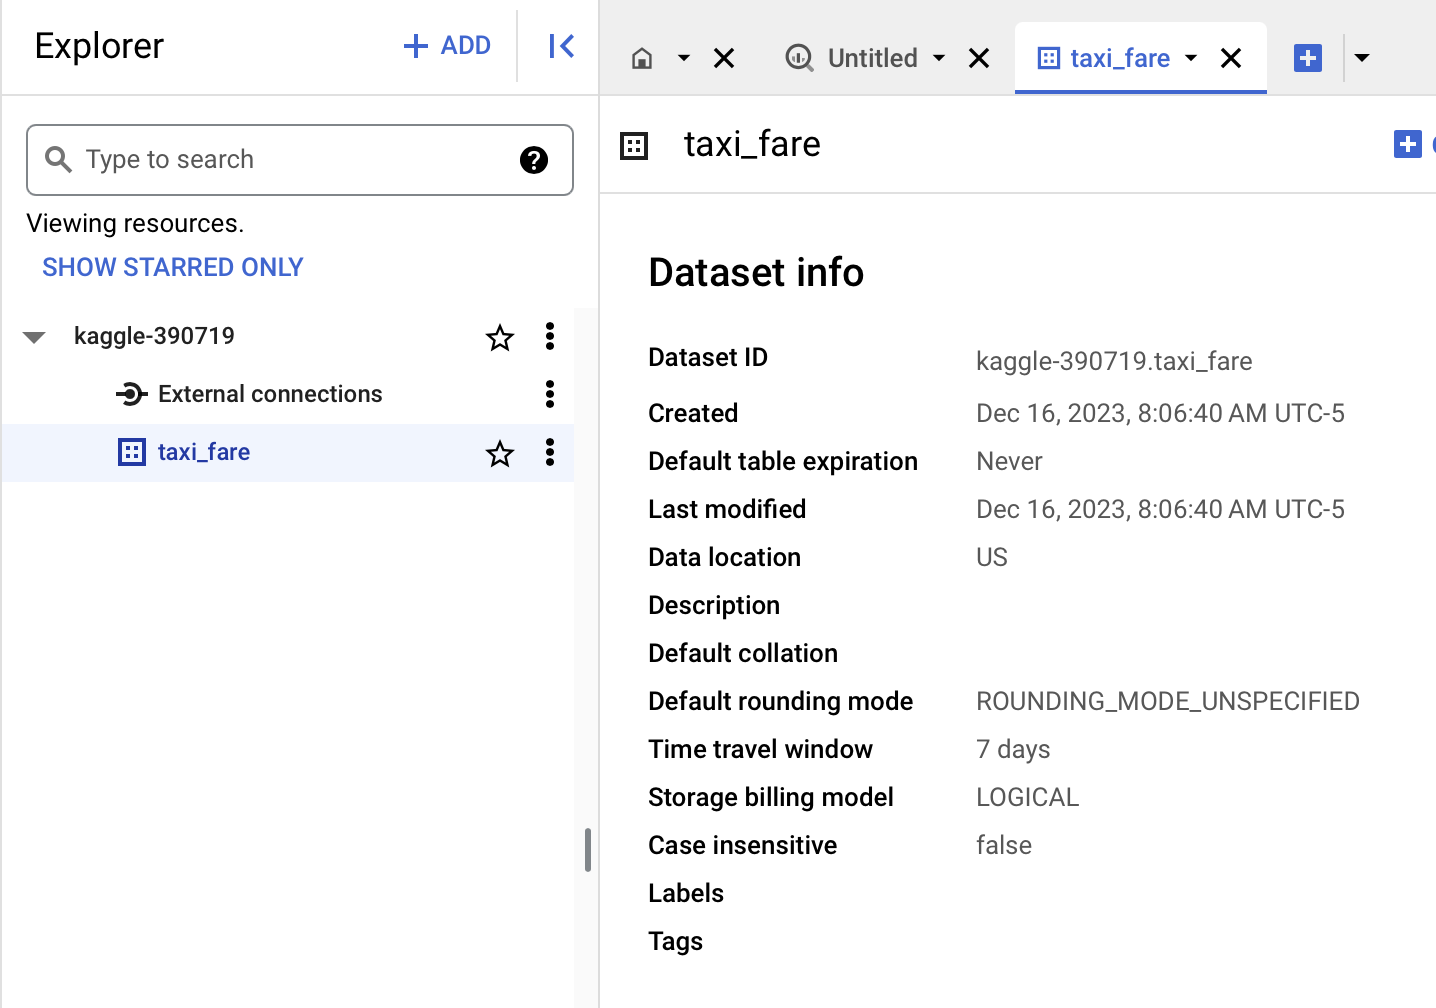
Now we should be able to create and modify tables in the taxi_fare dataset.
Ingest dataset into BigQuery.
We’ll be using Colab notebooks to do this since they have Google Cloud SDK pre-installed so it’s easy to interact with Google Cloud resources. You can, of course install them locally but we’ll skip that in this tutorial.
Make sure you’re logged into the same Google account as your Google Cloud so that credentials are automatically populated (you’ll receive a prompt to do so).
Pandas has BigQuery integration via pandas_gbq which makes uploading to BigQuery a one-liner affair.
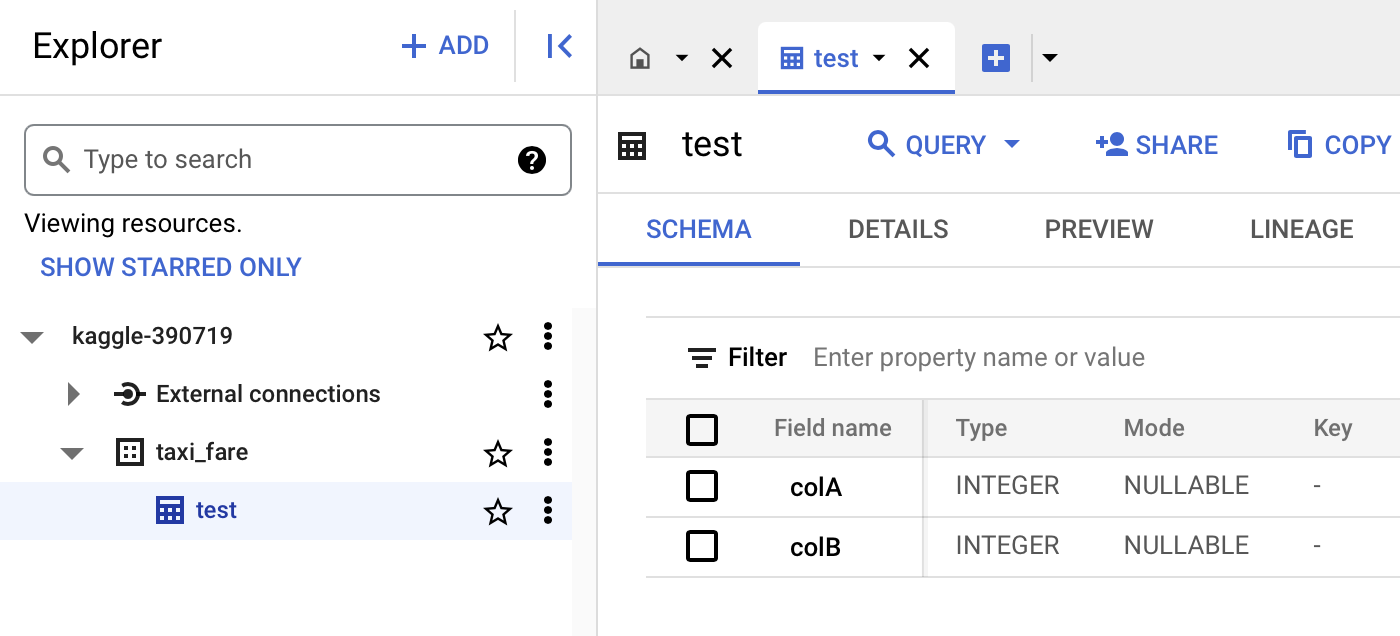
The following example (run this on a Colab notebook) inserts two rows into the table taxi_fare.test (and deletes the table if it exists).
import pandas as pd
import pandas_gbq

df = pd.DataFrame({'colA': [1,2], 'colB': [3,4]})
df.to_gbq(destination_table='taxi_fare.test', project_id='<your-project-id>', if_exists='replace')
Now we should see taxi_fare.test created and populated (try playing around with “Query” on the interface).
Ingesting the Kaggle files
But the Kaggle files are on your computer! You can use the sidebar option to upload them to the Colab runtime like so (you should see the files show up below “sample_data” once you’ve uploaded the files):
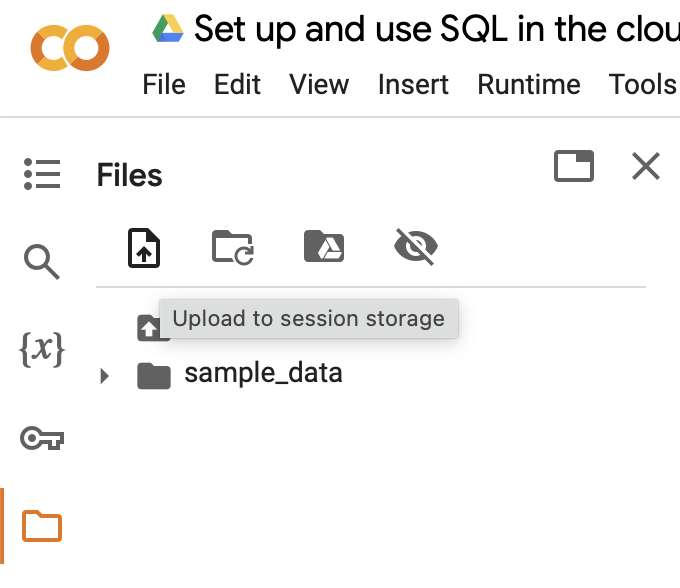
These files should now be available in your working directory so the following should show you the top few rows of train.csv:
train = pd.read_csv('train.csv')
train.head()
So then we can put that into BigQuery using the following command:
train.to_gbq(destination_table='taxi_fare.train', project_id='<your-project-id>', if_exists='replace')
Homework
Upload
test.csvto the tabletaxi_fare.test.
Gotchas
- If you’re updating a table, you’ll probably need to set up the table with primary keys and explicitly manage data types. This is a bit more complicated and we’ll skip this for this tutorial.
- For relatively large input datasets (i.e. takes too long to upload), you’ll probably need to make then into chunks and append to the destination table. You may also encounter issues similar to updating a table.
Doing analysis in BigQuery.
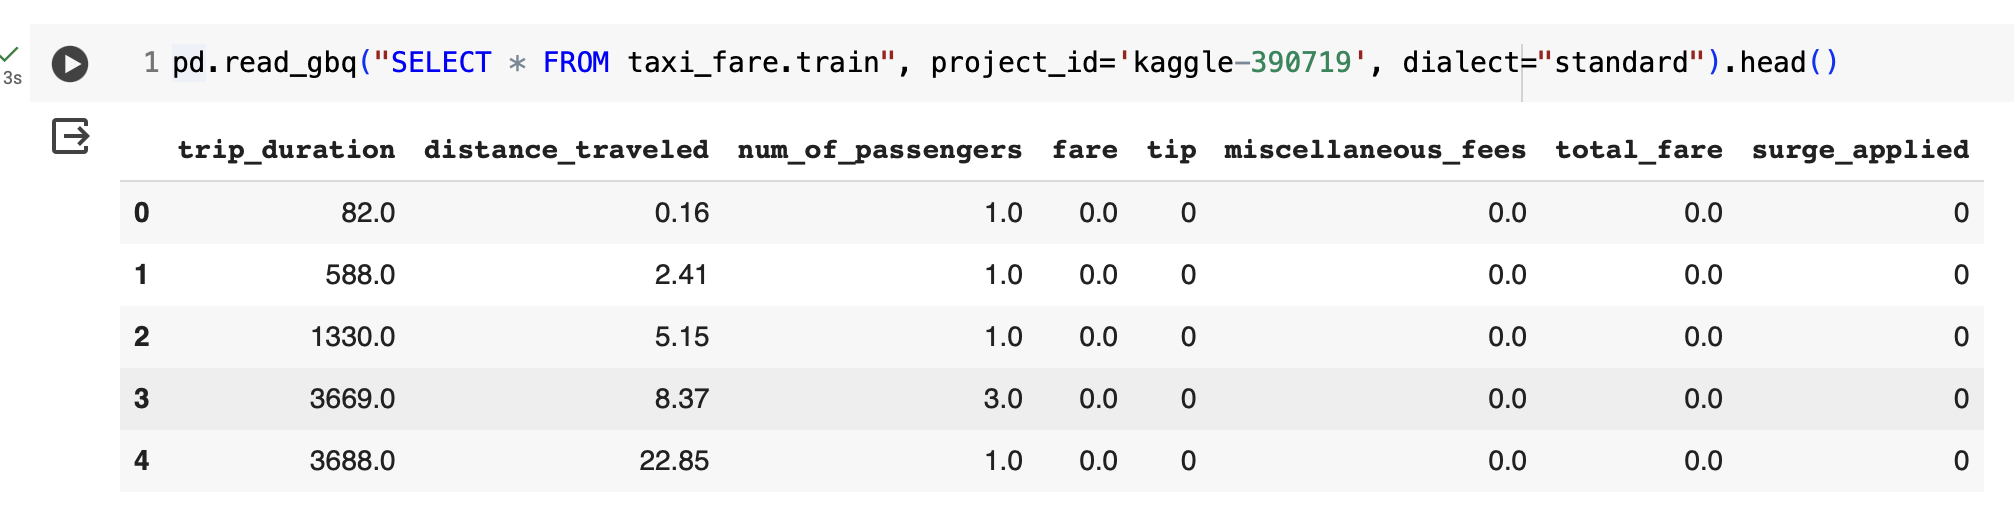
We can now read from BigQuery using Pandas in a similar way.
The following should give you all the rows in train.csv:
pd.read_gbq("SELECT * FROM taxi_fare.train", project_id='kaggle-390719', dialect="standard").head()